13254 Country Ridge Dr, Germantown, MD 20874, United State
E-mail us: jlmhandymanservices6@gmail.com
24 Hour Service - 7 Days a Week

Dealing with a ceiling leak is one of the most common yet frustrating home maintenance issues, especially for homeowners in Germantown, MD, where weather conditions and aging homes can often lead to hidden plumbing problems. If you’ve ever noticed water stains on your ceiling, peeling paint, or even a visible drip, chances are you’re dealing with a leak that needs immediate attention.
In this article, we’ll walk you through a comprehensive ceiling leak repair process — specifically focusing on replacing damaged pipes and repairing the drywall — all from a recent real-life repair project in a basement ceiling. Whether you’re a homeowner, property manager, or a DIY enthusiast in Germantown, MD, understanding this process can save you time, money, and potential headaches down the road.
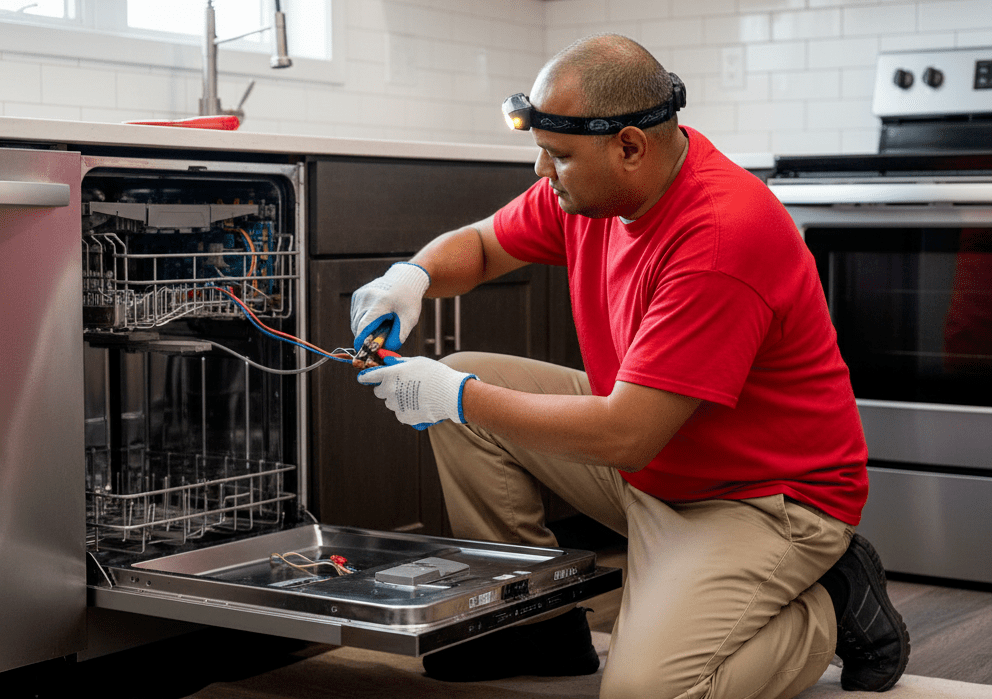
The first step in ceiling leak repair is always identifying the source. In many cases, the leak stems from a plumbing issue — whether it’s a cracked, corroded, or burst pipe. In our recent project in Germantown, MD, the water was leaking directly from a copper pipe running between floor joists in the basement ceiling.
It’s crucial to locate the exact section of pipe that’s causing the leak before proceeding. If you can access the ceiling cavity, use a flashlight to inspect the area. Look for:
Once identified, the next step is to replace the damaged pipe section.
In this case, the leaking section was a corroded copper pipe. The repair involved:
This plumbing step is essential because without a permanent fix to the source of the leak, any drywall repair would be temporary and prone to future damage.
With the pipe replaced, it was time to tackle the ceiling itself. Water-damaged drywall must be replaced to prevent mold growth and structural issues. Here’s a step-by-step overview:
Using a utility knife and a drywall saw, the wet and crumbling section of drywall was cut out. It’s important to cut slightly beyond the visibly damaged area to ensure a clean, solid surface for the patch.
A new piece of drywall was cut to fit the opening. It was then secured in place with drywall screws directly into the ceiling joists or furring strips.
Joint tape was applied over the seams, followed by multiple layers of joint compound (mud). Each layer was smoothed and allowed to dry before applying the next.
After the final layer of mud dried, the area was sanded down to create a seamless finish that blended with the existing ceiling.
To complete the repair, the patched area was primed and painted to match the rest of the ceiling.
For homeowners in Germantown, MD, preventing future ceiling leaks involves:
While many DIY enthusiasts might feel confident tackling drywall repair, plumbing repairs can be more complex and require professional expertise. If you’re in Germantown, MD and encounter persistent leaks, widespread damage, or if the repair involves main water lines, it’s best to consult a licensed plumber or home repair specialist.
Ceiling leak repair in Germantown, MD requires a systematic approach: locate the leak, repair the plumbing, and restore the ceiling structure. By following a careful, step-by-step method like the one outlined here — replacing damaged pipes and restoring drywall — you can ensure a durable and aesthetically pleasing fix that restores the safety and comfort of your home.
Whether you’re handling a small leak on your own or hiring a pro, understanding the full repair process helps you make informed decisions and maintain your property’s integrity.
If you’d like, I can also provide SEO meta descriptions, title suggestions, or social media captions to accompany this article — just let me know!